Have you ever thought virtual reality could also play a role in your courses? Would you like to make your lessons more interactive? Do you want your teaching methods to meet the information and perception needs of the latest generations? MaxWhere spaces can support higher education projects and serve as inspiration for university teachers and other adult education professionals.
Let us explain the why & the how.
MaxWhere: learning can be more fun and organised
MaxWhere was developed by a team of university researchers and education experts and has been tested in many higher education institutions over the years. MaxWhere is a versatile platform streamlining information processing by displaying 3D virtual spaces with various themes and designs. The best part is that no VR glasses or other devices are needed to access these spaces. The 3D spaces provided by MaxWhere can be utilised not only in higher education but for multiple purposes, including work-related tasks such as project management, data visualisation, administration, and decision-making flows, as well as for education, event management, exhibitions, presentations, and product showcases.

For educators, MaxWhere offers 3D spaces with the most diverse design and architecture that can facilitate online classes, student interactions, systematisation of course materials, simulations, and exercises for universities and other educational institutions.
Our mission is to support education with modern technologies, so we offer our spaces for educators at an exceptionally favourable price, with an excellent price-value ratio.
3D spaces for more exciting and effective education
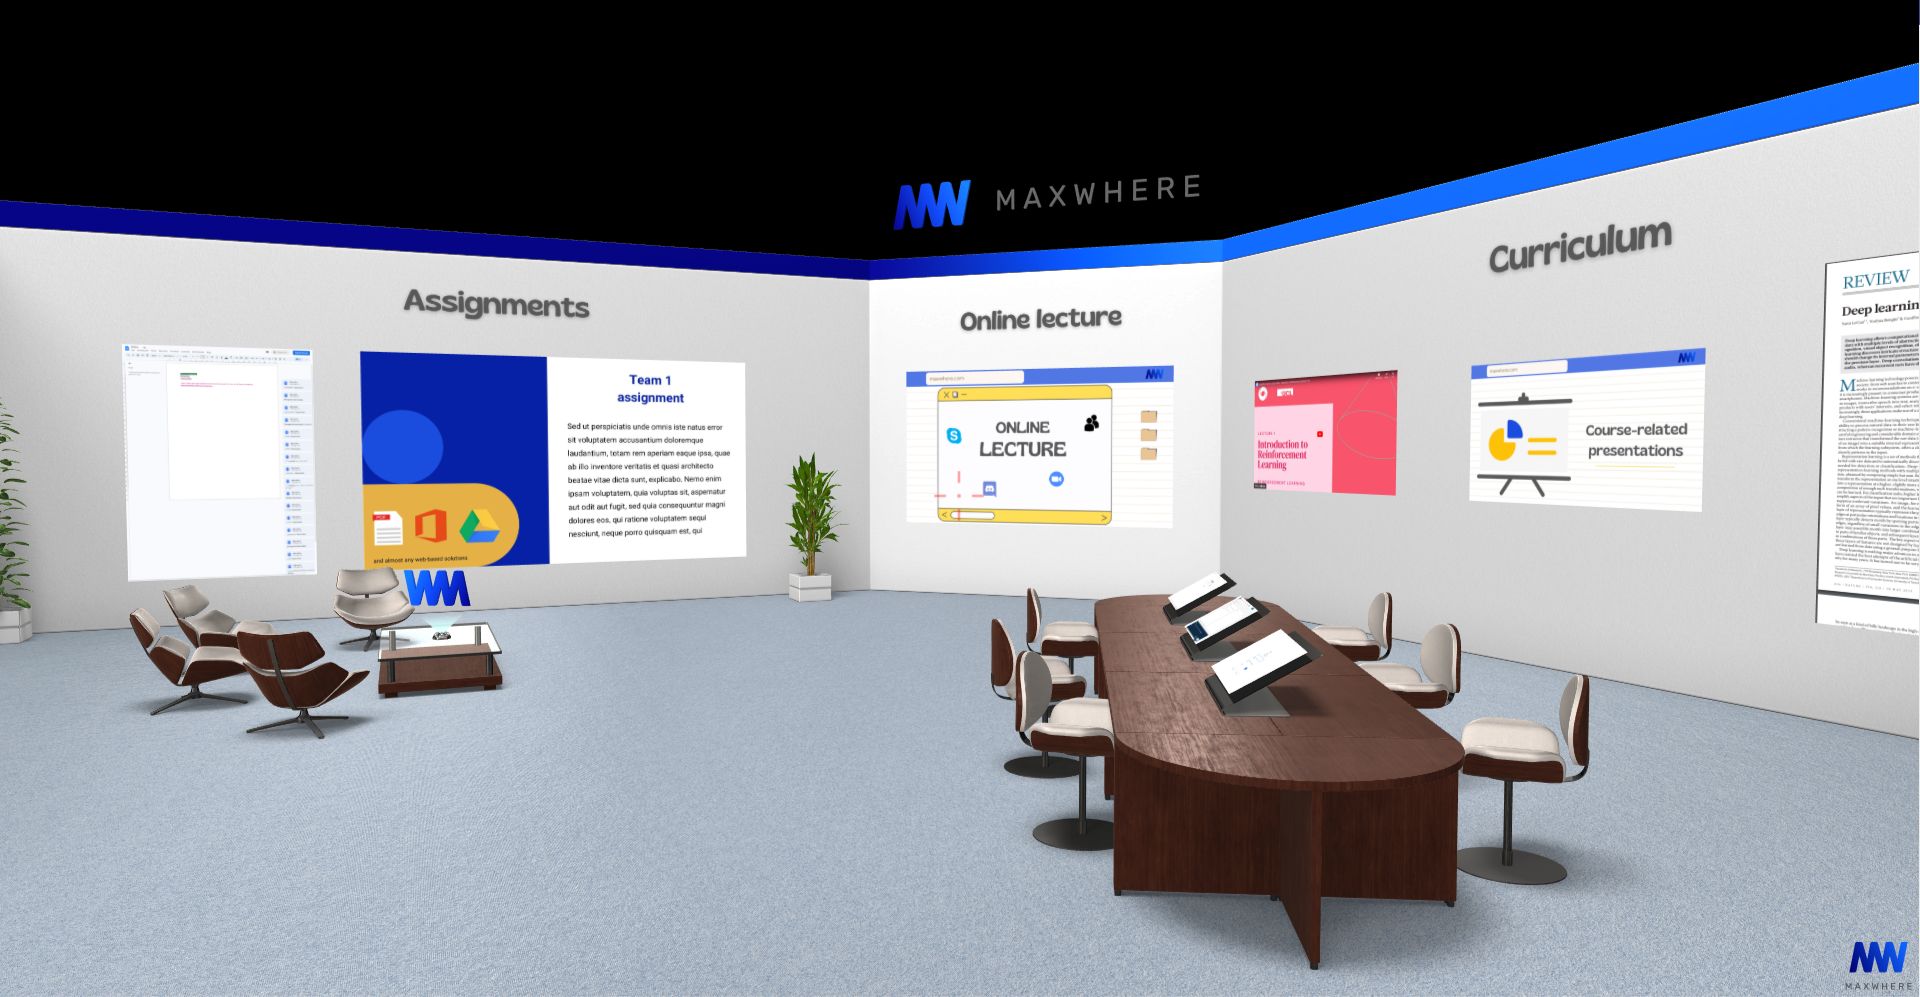
MaxWhere spaces provide a significant advantage. The lecturer can organise all the necessary curriculum materials, exercises, and tools in a single space, optimising cognitive processing for better understanding, insight, and content recall. Furthermore, students can customise their view of the space using the projects without altering the instructor's settings.

Every teacher's nightmare is an online class when ten or more minutes are wasted because students can't find the course material and exercises or they search in a hurry for the right file. Sometimes they can't collaborate because they are editing documents offline.
MaxWhere can accelerate work processes, making it especially beneficial for educational purposes. Well-designed spaces offer effective learning paths and only contain content that passes a preliminary instructor screening. Therefore, users can work from authentic sources. MaxWhere enables the integration of various educational applications into the same 3D space and displays them on Smartboards, reducing the need for context switching and saving time and energy. Each Smartboard functions as a separate monitor, and various file types, including websites, can be displayed. Furthermore, it provides:
- A cloud-based service.
- Making files immediately available in the given VR space.
- Eliminating the need to send them to the students.
Features beyond education
MaxWhere can provide you with more than a lecture space. Some spaces can be an inspiration for those who are planning a conference, career expo, academic student meeting or similar event.
Navigation in MaxWhere spaces is user-friendly and requires only the usual mouse, keyboard, or touchpad movements. The lecturer can set guided tours that lead the user through the lesson/course/presentation and related materials, presenting the contents in an order deemed useful for students. Users can deviate from the route as needed, for example, if they are already familiar with the subject matter and are searching for particular content.
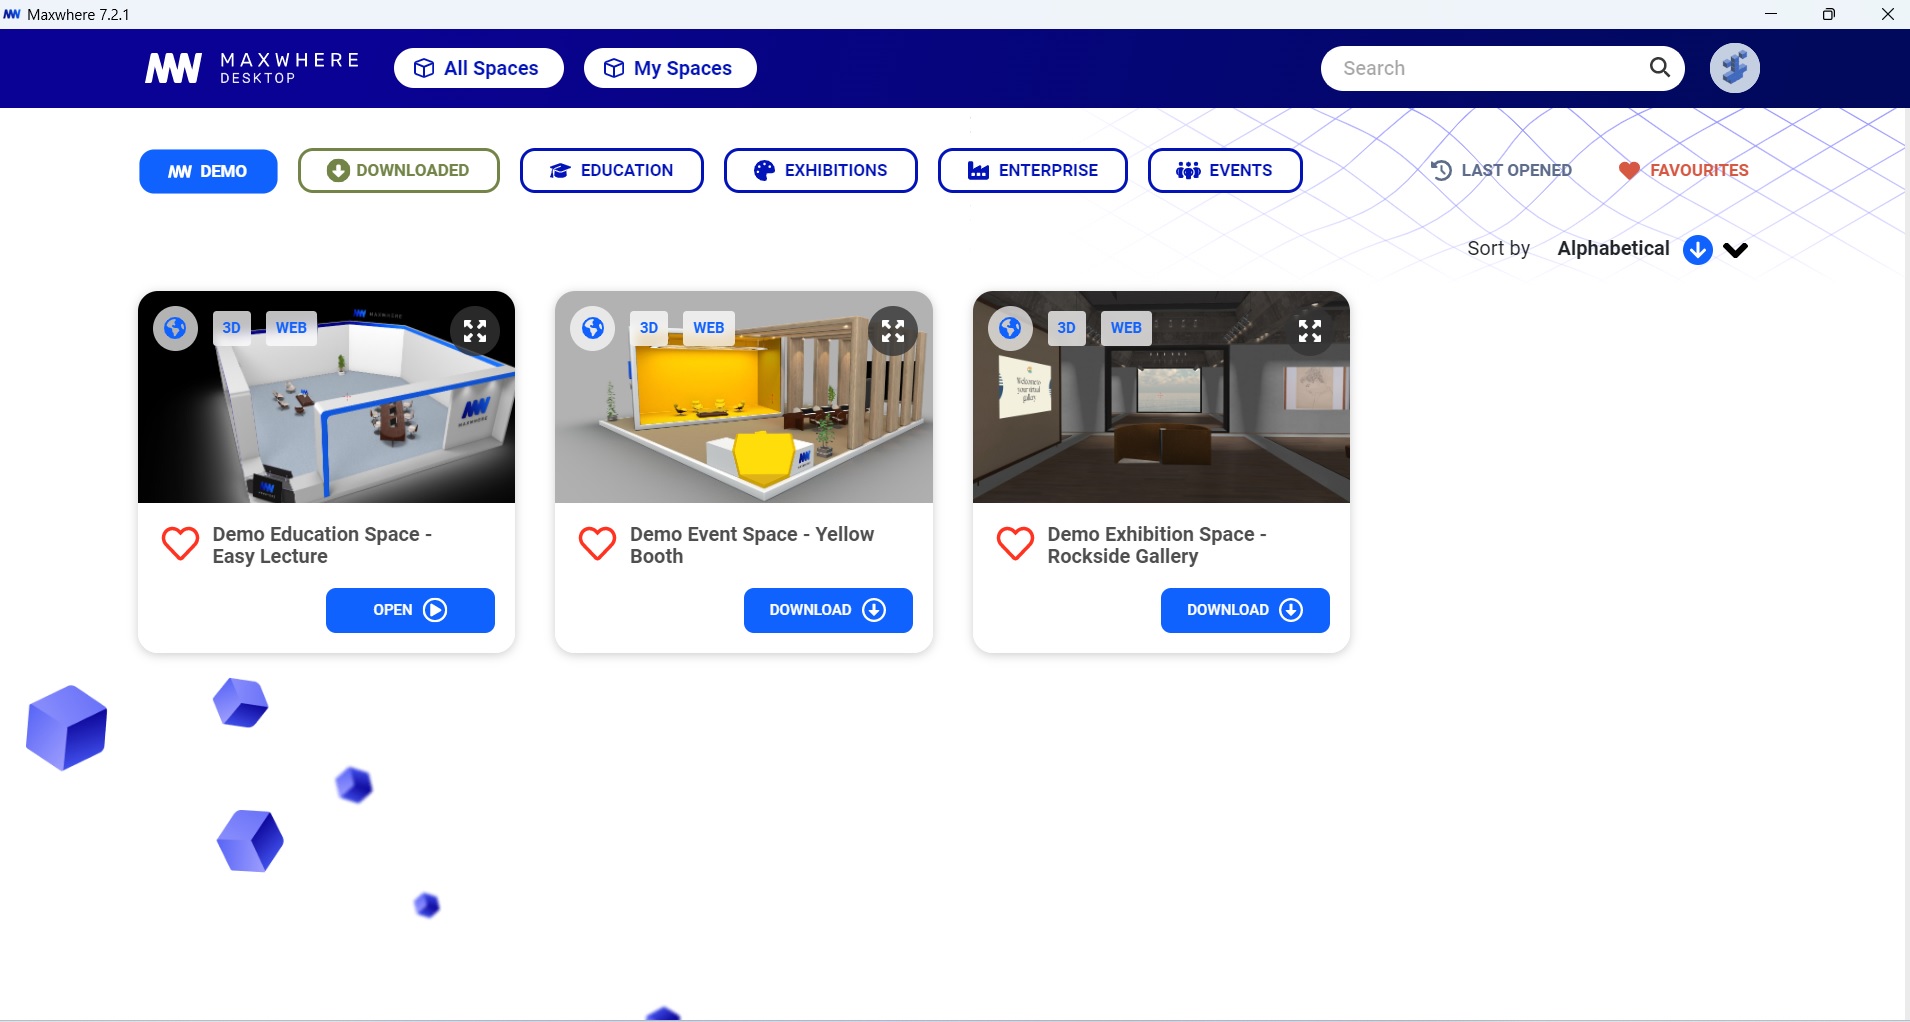
MaxWhere spaces enhance information acquisition and facilitate collaboration, making them highly beneficial. MaxWhere offers spaces designed for specific needs, such as conferences, talent management programs, professional meetings, career guidance programs, and more. Interested users can browse these spaces by clicking on the Education category on the Space Selector screen.
Ready-to-use educational projects in MaxWhere
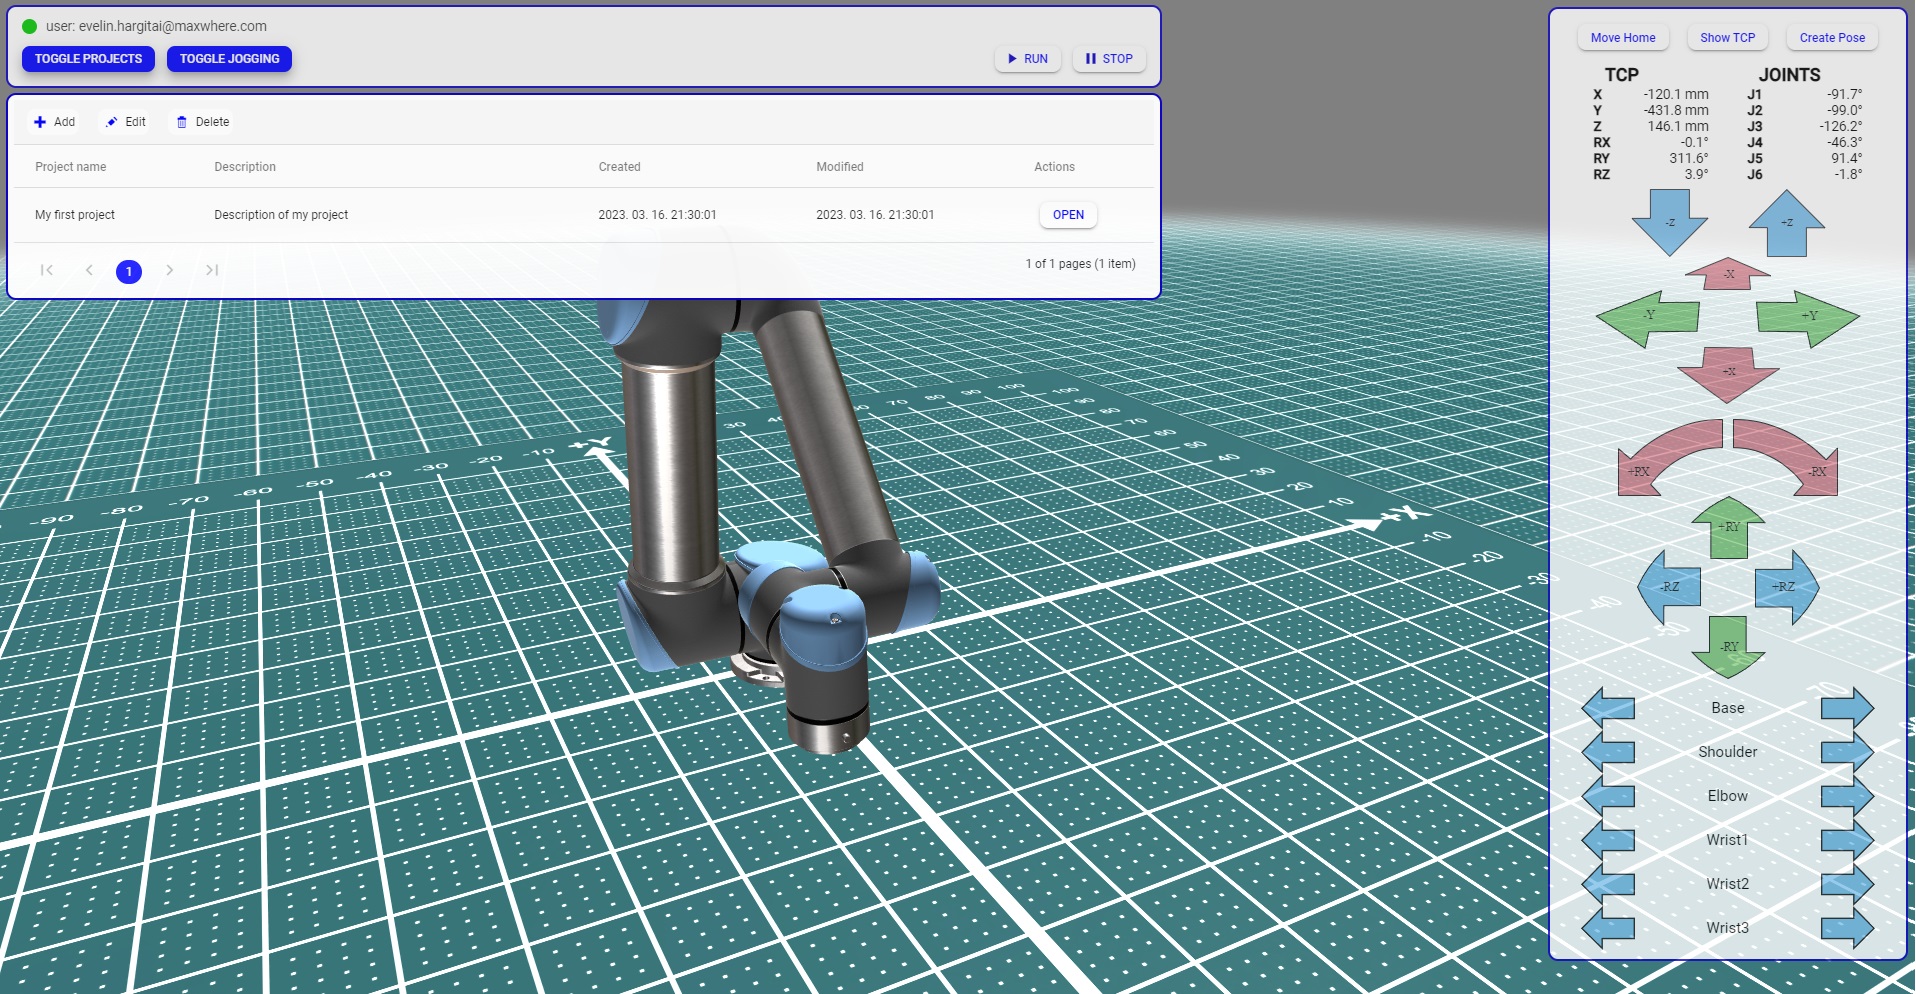
You can choose any of our spaces for online education and virtual classes. The design of the spaces helps you find inspiration. However, some specific 3D spaces help you teach some particular educational material. Among these, we recommend the simulation spaces for teaching physics, robotics and 3D printing. Roblocky is a space that models a robotic arm's movement, displays the control software's user interface, and helps practice.
3D printing is a space that simulates 3D printing so that students can learn the basics of 3D printing without expensive (real-life) equipment and supplies. Virtual pendulum space: in this space, students can study the pendulum movement from the theoretical physical foundations through the simulation of the pendulum to the calculations.

How to start?
The first step is to register a user account on maxwhere.com. Once you have created an account, you can visit portal.maxwhere.com, which is a web-based management site that allows you to view all the spaces you have access to. Depending on your permissions, you can be an Owner, Editor, or Viewer of a particular space. On the MaxWhere Portal, you can edit the metadata associated with your spaces, including their name, description, thumbnail, visibility, and sharing options, among other things.
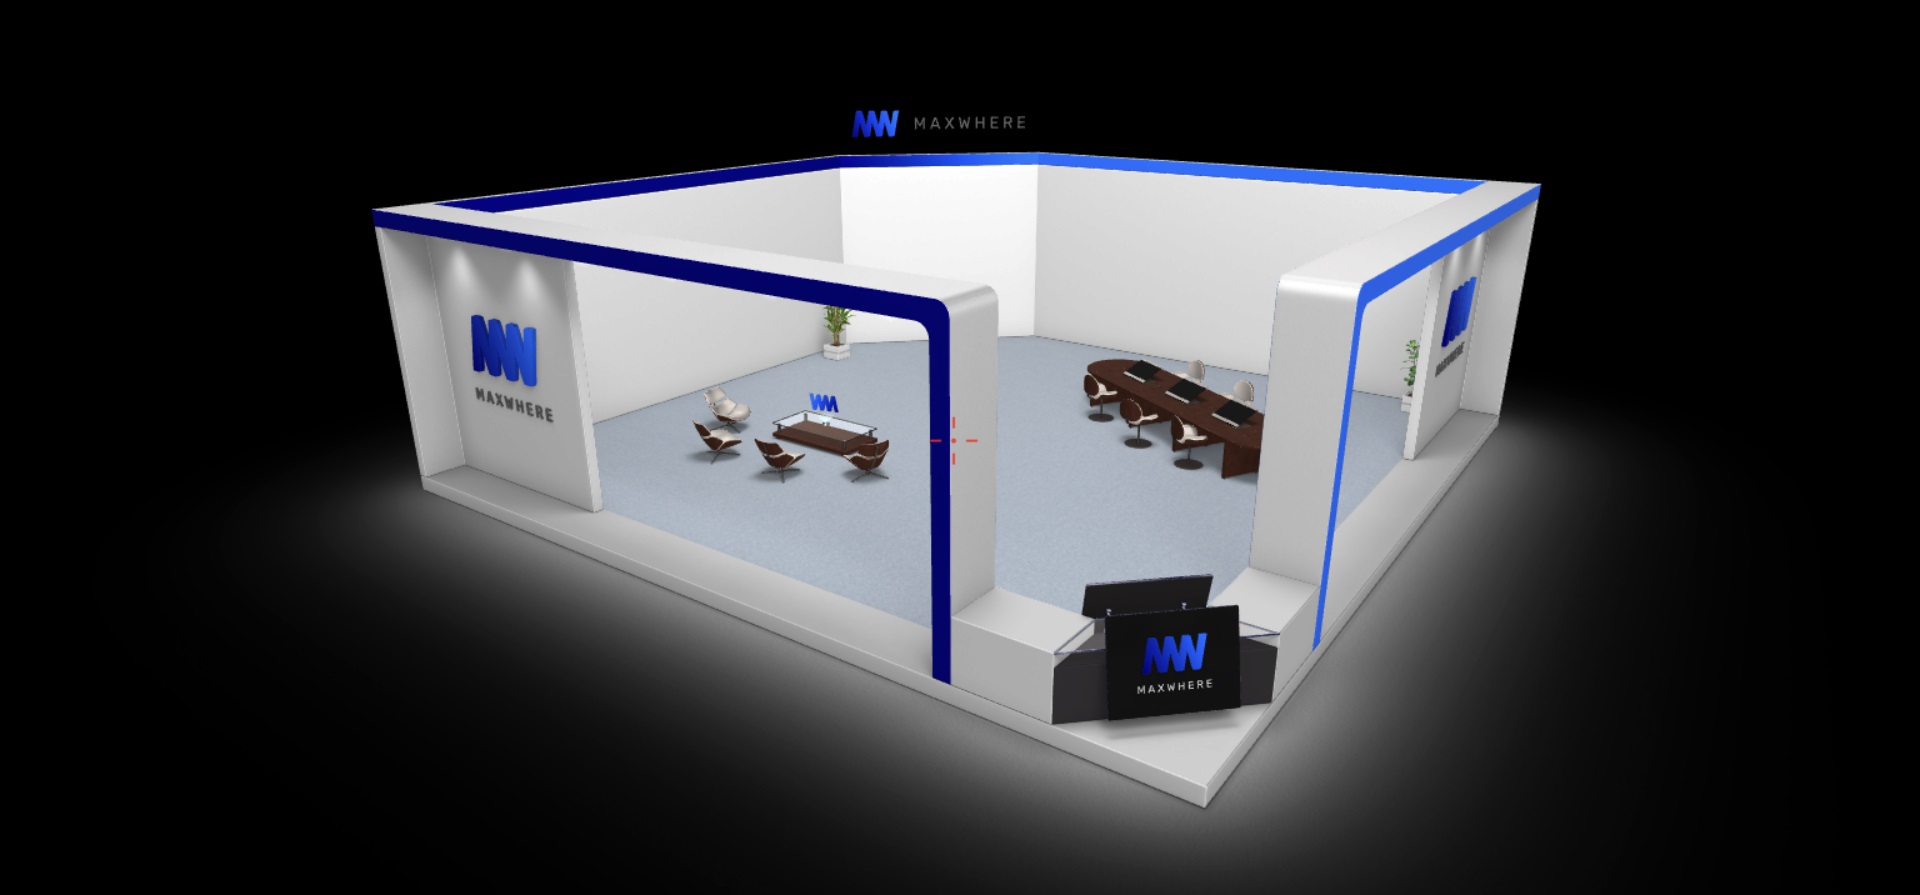
If you are an educator interested in using MaxWhere, we recommend that you start by exploring the Easy Lecture space. This space is available online, without requiring you to download the MaxWhere Desktop app, and allows you to organise study materials for one or more subjects easily. You can display course topics, notes, and diagrams on Smartboards and hold online classes that can be made available for students to watch later. Students can also arrange their notes and submit homework according to their individual needs, making it easier to find everything in one place.
Step by step guide for lecturers
Tutorials – choose what is more suitable for you
You can choose to read our user manual, watch our tutorial videos, or enter a space and follow our guide, which is available in each space. The choice is yours. And you can even read our blog with many valuable articles about MaxWhere's features. Begin with our tutorial for educators and continue with our tips about Smartboard editing.
Get your own space
First, visit the MaxWhere portal and click on All Spaces or My Spaces in the top menu bar. Now you can see the big + icon, click on it to get to the editing interface. Choose which space you want to copy for yourself, and when it's done, it's just a few simple steps and you can enjoy your own space.
Space Browser and Navigation in 3D spaces
The Space Browser is the first interface you find on the MaxWhere portal or the Desktop app. Here you can select the space you want to enter. You can search by keyword in the search bar, and you can also find your own spaces here.

When you enter a space on MaxWhere, you can navigate within it as if you were playing a video game. You can use a mouse, touchpad, keyboard, or even a touchscreen to move around. Navigation is intuitive, but if you need help, you can refer to the User's Manual. Within the 3D space, you will find smartboards and selection panels that you can interact with. You can easily switch between 3D and 2D navigation modes by clicking the right mouse button. In 2D mode, you can use a regular 2D cursor to interact with the MaxWhere menu or other applications. In 3D mode, you can change the camera's viewpoint inside the 3D space.
If you ever feel lost within a space, press the 'Backspace' button on your keyboard, and you will be taken back to the original viewpoint from when you first opened the space. This makes exploring different parts of a space easy without getting disoriented.
Learn more about Space browser and navigation from our tutorial video here.
Instead of whiteboards: Smartboards and selection panels
Smartboards are panels that are integrated into 3D spaces on MaxWhere, and can be activated if you have the appropriate privilege. Once you enter a smartboard, you can upload local 2D content like PDFs, images, and videos, or load webpages and cloud-based content. Even if a smartboard is set to view-only for a user, they can still enter and interact with the content displayed inside. Smartboards are useful for displaying images or creating joint works with students online.
Smartboards serve as the primary interface for accessing the 2D web and collaborating with other users inside and outside of MaxWhere through cloud-based collaborative services. Numerous variants of Smartboards are available, and the MaxWhere website outlines the various parameters that can be used to configure their behaviour. For educators, the recommended type of Smartboard is the default one. The editable Smartboards can be used for interactive lessons, presentations and collaboration. However, other smartboard types, e. g. Image Frame, cannot be edited. It can be helpful if you want to display class schedules or additional "static" information.
To put a smartboard into a space, simply direct the red 3D crosshair toward a suitable surface and initiate the MaxWhere menu by right clicking your mouse. Then, select the window symbol to access the "Add new smartboard (+)" button, which generates new smartboards. A "New Board" panel will then appear, allowing you to define various characteristics of the new Smartboard.
For more information, see our tutorial video about how to use Smartboards & Selection Panels.
Projects
In MaxWhere, projects are the primary means of organising and presenting 2D content within 3D spaces. Users with Editor privileges can create new projects and customise their properties, including their name, description, and content. They can also add Smartboards with custom content and properties to their projects.
Creators of projects can choose to make them public or private, and can grant viewer or editor privileges to specific users. This allows for control over who can access and edit the projects they have created.
Typically, projects created within a 3D space will belong to that space, but they can also be managed and accessed from different locations based on their configuration.
The Project Explorer, a 2D file manager accessible through the MaxWhere menu, displays all projects visible to the currently logged-in user by default. Additionally, specific projects can be listed on any Selection Panels within the space.
Create projects & edit smartboards like a pro with our tutorial.
Guided tour
In each space, it is possible to set a route that the owner of the space considers best. For example, in an educational space, you can determine in what order the Smartboards should be viewed. This function is called a 'Guided Tour'.
Click the right mouse button to enter the 2D menu. Select the guided tour and click on Create a new tour. Name your tour and add the steps of the tour. Navigate in the space according to the route you wish to present, and MaxWhere will record it.
Don't miss our tutorial video about guided tours.
Try it for free
Download MaxWhere for free and try the spaces labelled with education. After purchasing the space, you will have your copy, which you can customise based on your needs and workflows.


.jpg)


